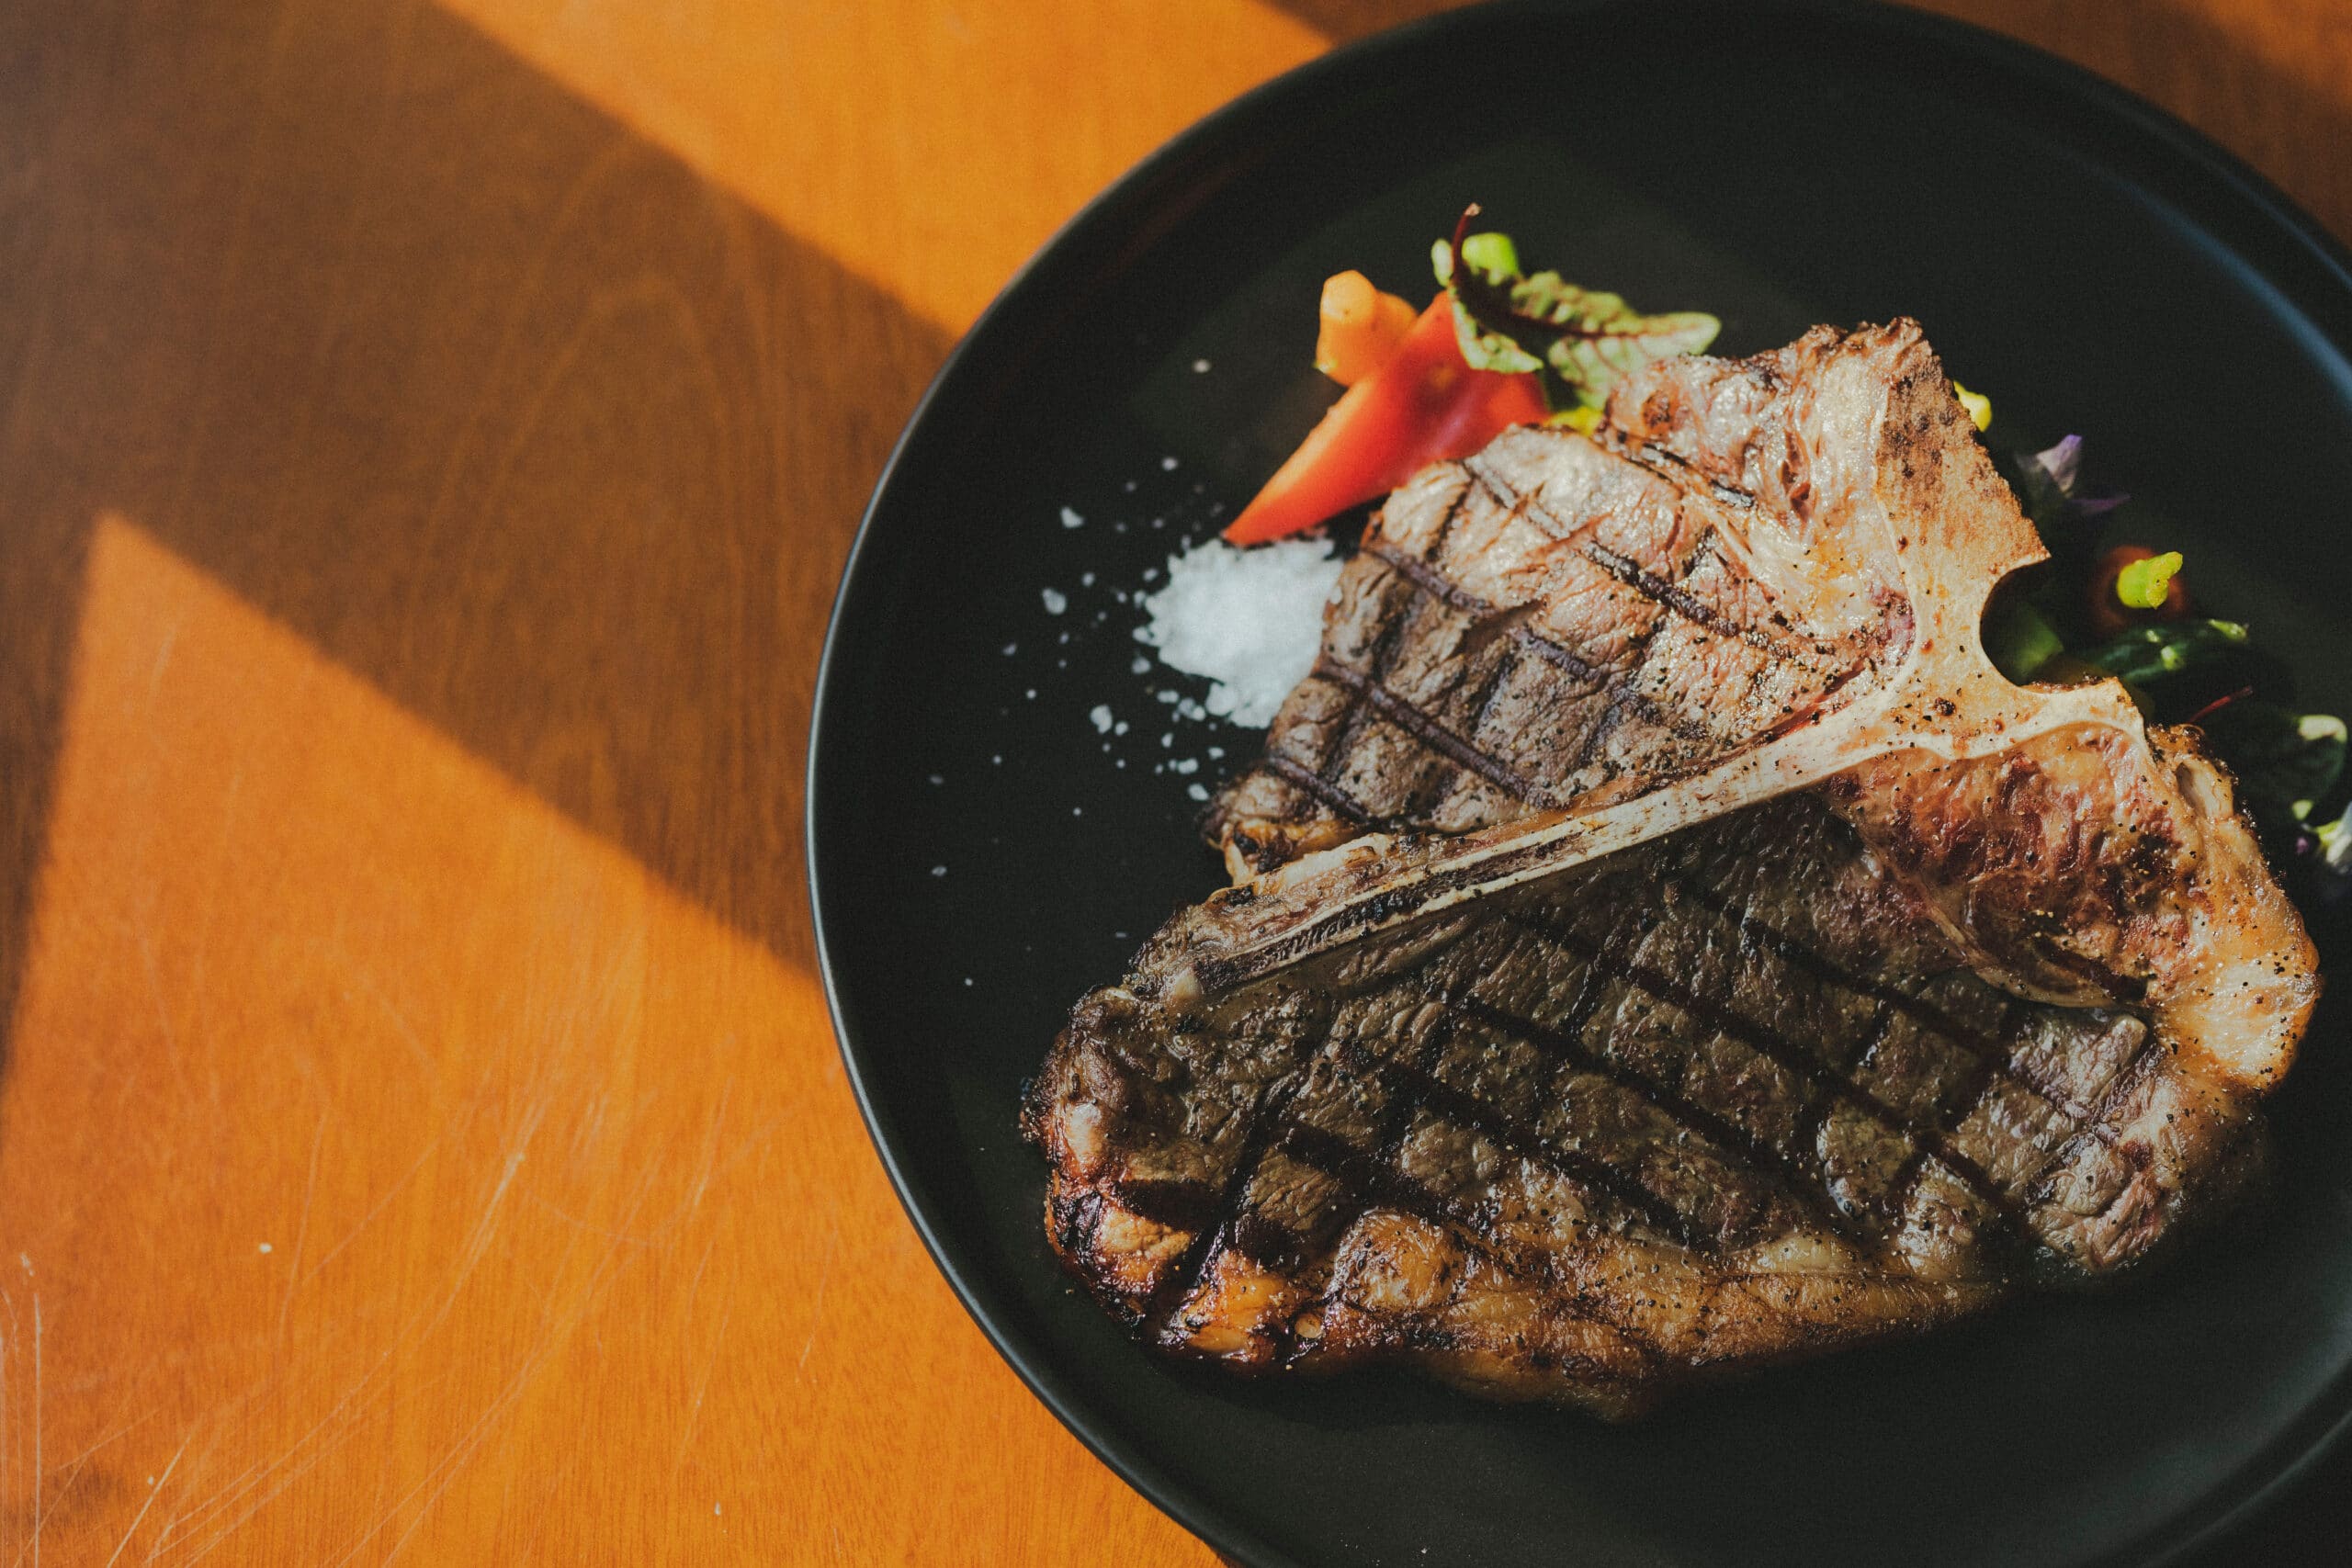
There’s something primal and gripping about a perfectly grilled steak. The smoky, deep brown crust. The still-juicy pink center. It’s enough to make anyone salivate—but getting those perfect results is notoriously difficult.
After spending the better part of a decade in and around professional kitchens, though, I’ve learned that a single process can take someone from grilling novice to steak sizzling master. Once you learn this way of grilling a steak, you can apply it to basically any cut of meat or regional flavor style.
And you’ll be able to impress the hell out of a date or significant other, too. So let’s take a step-by-step look at how to grill the perfect steak.
The foundation: How to choose a good cut for steak
Despite its sometimes lowly reputation, I’m a firm believer that butchery deserves to be elevated to the place of fine art. It takes years of practice for a butcher to learn their craft, and the smallest differences in technique can rapidly alter the flavor of a cut of meat.
With that in mind, let’s discuss building a relationship with your butcher.
Where should you buy your steaks?
If you really want to grill the perfect steak—not just a really good one—you’ll need to start with excellent quality meat. And that means doing your best to find a local butcher who can walk you through the best cuts they have that day.
If you have the luxury of being within driving distance of a local butcher shop, I urge you to go there as often as you can. It’ll support the local community, sure—but it will also open the door to getting the best quality meat you can buy. The better your relationship with your butcher, the better your steaks will be, bar none.
Of course, not everyone has the good fortune to live near a quality butcher shop. If that’s the case, you can still get on good terms with the butcher counter at your local grocery store. Alternatively, consider one of the many online steak suppliers like Porter Road or Kansas City Steaks.
What to look for in a steak (quality indicators)
Before we get into the specific cuts you might want to grill, a quick word about what to look for in your steak:
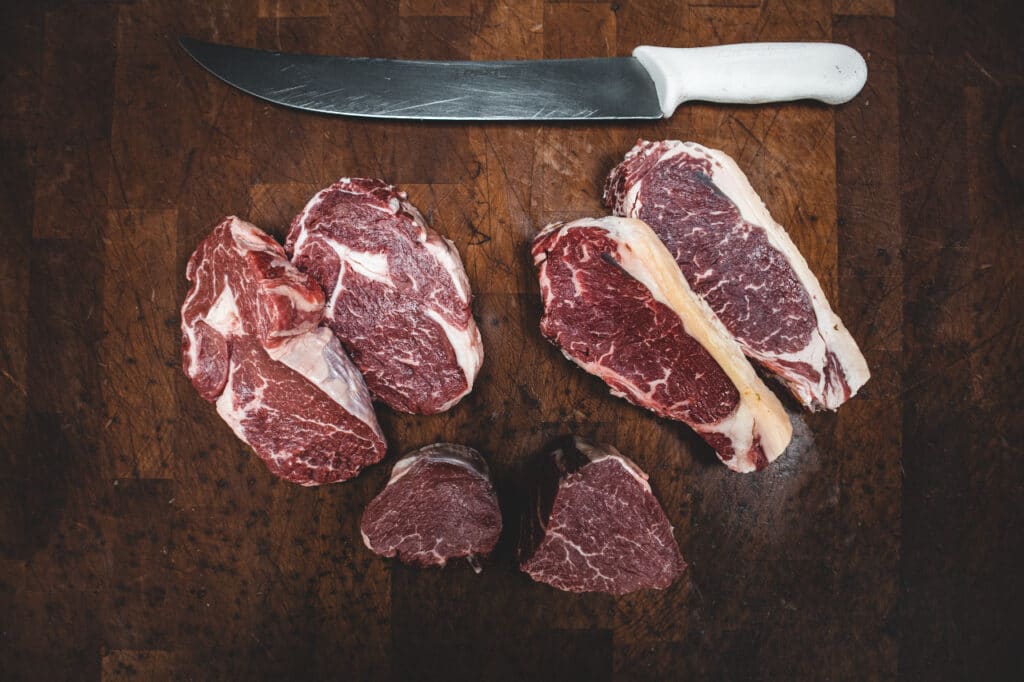
- Marbling is key. That’s the white streaks of fat stored within the beef’s muscle. Since these veins of fat melt while you’re grilling, the more the merrier. Avoid marbling that has begun to turn yellow or gray, as these are indicators that the steak is past its prime.
- Juices should be inside the steak, not on the cutting board or in the packaging. If a steak is frozen improperly, it’ll leak its juices when it thaws—yielding a dry and unpleasant finished product
Good cuts for steak
Now onto the cuts:
- Strip steak is a perennial favorite thanks to its power-packed combination of flavor and tenderness. Expensive but well worth it for special occasions.
- T-Bone steaks combine a strip steak and a tenderloin on one bone. They’re hugely flavorful, and give a wonderful contrast in textures. And they’re just as pricey as you’d imagine.
- Top Sirloin is my go-to cut for weekend grilling in the summer. It’s inexpensive relative to the flavor and tenderness you get from it, and easy to grill well.
- Ribeye has a hell of a lot of marbling, and the “eye” bone helps to keep the steak moist and tender while grilling. Available at a medium price.
- Hanger steak is also known as “the butcher’s cut” for good reason: With a little work to trim the silver skin off, it yields a tremendously flavorful steak at a low price.
- Flank steak is one of the toughest cuts you’ll find, but it’s ideal for cutting into slices for filling tacos or fajitas.
All of these come with an important caveat, though: If your butcher recommends a different cut, you might want to take their advice. Every cut of beef differs slightly from cow to cow—so the best cut from one animal may not be the best from a different one.
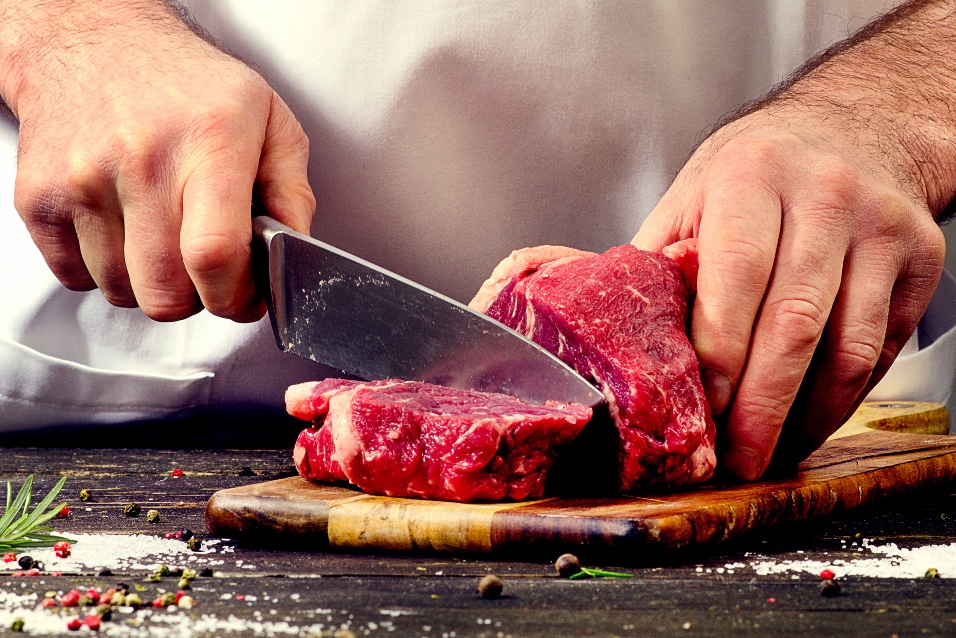
Next, trim the fat
If the cut of steak that you go for has a visible fat cap or exterior fat deposits, you should cut them off at this point. Why? Because fat is what causes grill flare ups—good in moderation, but you don’t want to overdo it.
Grab your sharpest knife and trim your steak down to a mostly lean exterior. Its marbling will still render and provide excellent flavor, so don’t worry about losing something by removing this fat.
Salt is the magic ingredient
Without getting too deep into the science of it, salt is exactly what every cut of steak wants.
Give a generous sprinkling of salt enough time to soak into the tissues of the steak’s meat, and it will work its magic on the beef’s protein structure.
The result? A steak that sears readily, has a perfectly seasoned flavor, and magically seals in its own juices.
A good guideline for salting your steaks is to use one and a half teaspoons of salt per pound of meat. Those who are sensitive to salt should use just a teaspoon—but please don’t skip this step.
(Also: Kosher salt is better than table salt for this purpose, as it’s easier to sprinkle.)
Place your steaks on a plate or high-sided baking sheet, and sprinkle the salt evenly on both sides. Then put them back in the refrigerator.
For how long? Anywhere from an hour to a whole day will yield excellent results. I tend to salt my steaks in the morning, then grill them at night. The longer you leave them salted, the firmer your steaks will be when they’re grilled.
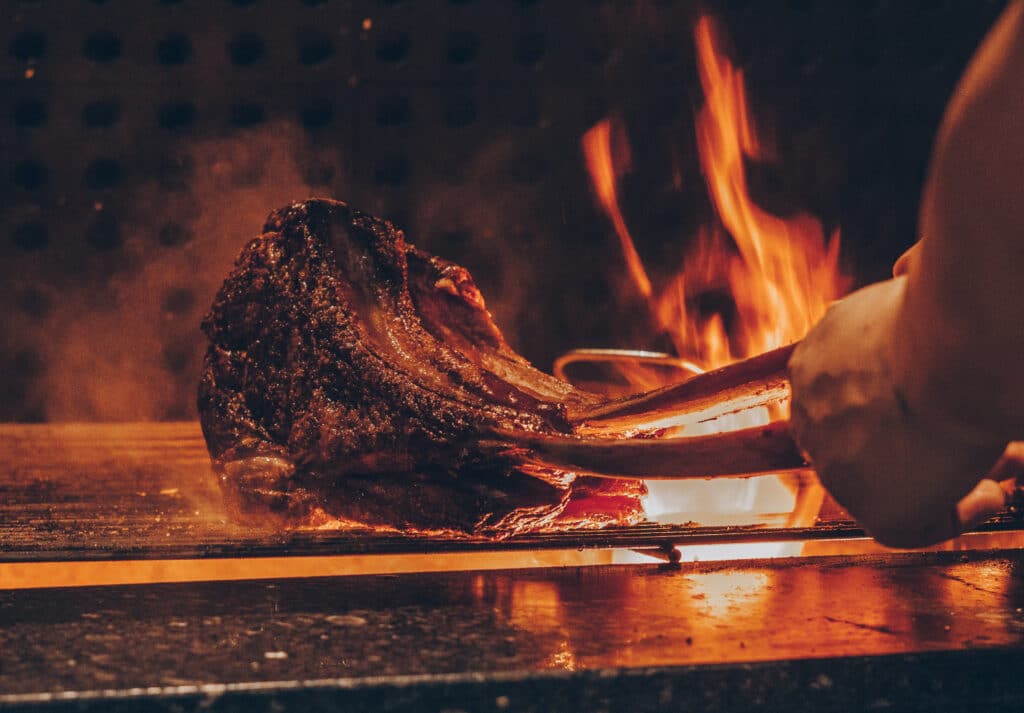
Building a steak-ready fire
Are you more of a gas griller or a charcoal griller? Flavor preferences aside, you’ll use the same method for either type of grill: A two-zone grill plan.
This means that one side of your grill should be intensely hot—either a big pile of coals or your gas turned on high—and the other should be left alone at ambient temperature.
The trick to this two-zone grilling is that the hotter side is used for intensely browning the steaks, and the cooler side gives you somewhere to take the temperature of your steak as you work. Once you think the steak is almost done, you can remove it to the cooler side to finish its internal cooking.
Grilling, step by step
Grab your tongs and your steaks—it’s time to grill. Here’s my step by step process; repeat steps one through four as necessary.
- Sear on the hot side of your grill, flipping your steak every minute. This helps it cook more evenly, ensuring a uniform deeply browned crust.
- Monitor for flare ups. Small flare ups are good, but big ones are bad—their larger flames can deposit a bitter layer of soot on your precious steaks.
- Keep an eye on your steaks, and check for doneness after five minutes. Thicker steaks will usually need more time to cook than this, but thinner steaks may be finished after five minutes. (To check your steaks, move them to the cool side of your grill and insert a meat thermometer through its side. 120 degrees is rare; 125 is medium rare; 135 degrees is medium.)
- Move your steaks around as necessary. This is the art of grilling: Finding the right balance between high heat searing and low heat internal cooking. If your steak is fully browned but not at the right internal temperature, move it to the cooler side of your grill. If it’s cooking too quickly on the inside, move it back over to the hottest place on your grill.
- Take your steaks off the grill and put them on a baking sheet, preferably with a wire rack in it. Then cover them with aluminum foil to keep the heat in, and let them rest for about eight minutes.
At this point, you’re almost ready to eat. But next, my favorite way to serve steak.
Resting and serving
After letting your steak rest for somewhere between five and ten minutes, it’s time to cut it.
This is the point where some grilling purists will cry foul. Shouldn’t you leave the steak whole, to be cut and enjoyed by the person eating it?
My answer: Only if you really want to.
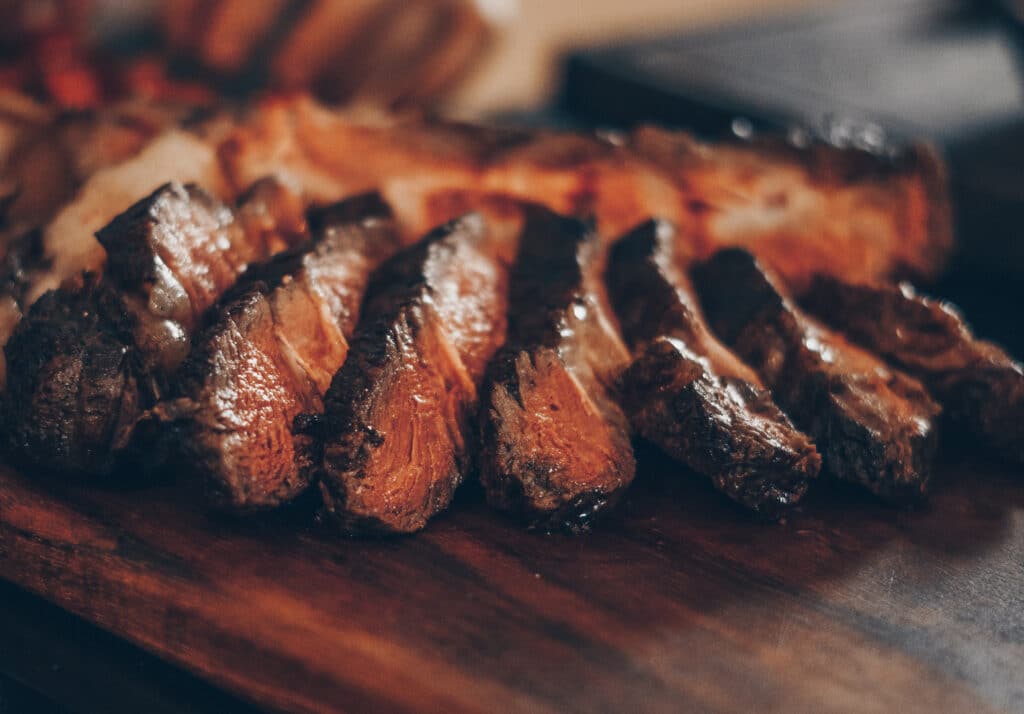
Otherwise, your steak will hugely benefit from being cut into thin slices, against the grain. Because the muscle fibers in each piece will be shortened, this gives the effect of making your steak even more tender.
Better yet, cut your steak into thin slices and then dust it with a big Maldon flake sea salt. That’ll add the final touch of flavor and a pleasant crunch to complement your perfect crust.
What should you serve your steak with?
Sides to serve your steak with are entirely up to your personal preference.
Mashed potatoes are classic. And if you want to take them to the next level, consider adding a small portion of blue cheese while mashing.
But there’s one condiment that I rarely serve a steak without: A compound butter. Melt half a stick of butter over a low heat in a saucepan, and then add herbs and a pinch of salt. Let it simmer for five to ten minutes, and you’ll have an amazingly flavorful condiment that’s a perfect pairing with seared steak.
Parting words: It takes practice
I’m confident that if you follow these guidelines, you’ll end up with the best steak you’ve ever grilled. But you know what? If you find something that you like to do differently, I encourage it—every person’s steak technique evolves over time.
On that note, I’ll say that it can take years of practice to develop a real feel for grilling. People have been grilling for thousands of years after all—and there’s no need to pressure yourself into getting it perfect in one day.
The joy is in the journey, and in the meals you share with friends and family. May you always have all of these present at your dinner table.
Disclosure: Clicking on these links and making a purchase may earn us a small referral fee, at no extra cost to you. Learn more here.